This guide is meant to help plan, order and install the right basement egress solutions for their needs. Read on to find the steps you need to consider before installing an egress window and window well in the lower level of your home.
Before you order, PLAN:
Check our egress code explanations on our website (WindowWellExperts.com) with your local building inspector to verify any locally specific code requirements before ordering or performing egress window well installation.
When you talk to the inspector, ask how long it will take for the permit process to take, and take that into account.
To apply for your permit, you may need to supply:
- A diagram of your home showing North and where the egress well will be located
- A short description of the project’s scope–the well, window, ladder (if applicable), and the cover (if applicable).
Call your Local Diggers Hotline/One Call/Julie three to five business days before digging. On average, the markings are good for ten days.
How to Measure Your Egress Window Wells Correctly?
The egress window well should be approximately 2-3″ wider on each side of the existing (or planned) window rough opening for a mount-to-foundation installation and 8-12″ deeper than the bottom of the rough opening for adequate drainage.

1. Order your basement well and accessories:
Ordering from us is simple! Give one of our Experts a call at 1-888-650-9355. If you have any questions, we have the answers about not only wells but windows, ladders, and covers. Plan for a 4-5 week lead time for the wells; the accessories‘ lead times may vary. Some sizes/types are in stock.
2. To dig the hole
It is possible to dig the hole by hand, depending on the depth of the well, soil conditions, your determination, and level of fitness. Cover the hole with a heavy sheet of plywood with a tarp covering if rain is expected.
The hole for your egress installation needs to be at least 12″ larger than the window well, all the way around. This will allow room for drilling holes and mounting the well flanges to the foundation wall on each side. The well should be at least 3″ above grade to prevent flooding, more if this is a low spot in your yard.
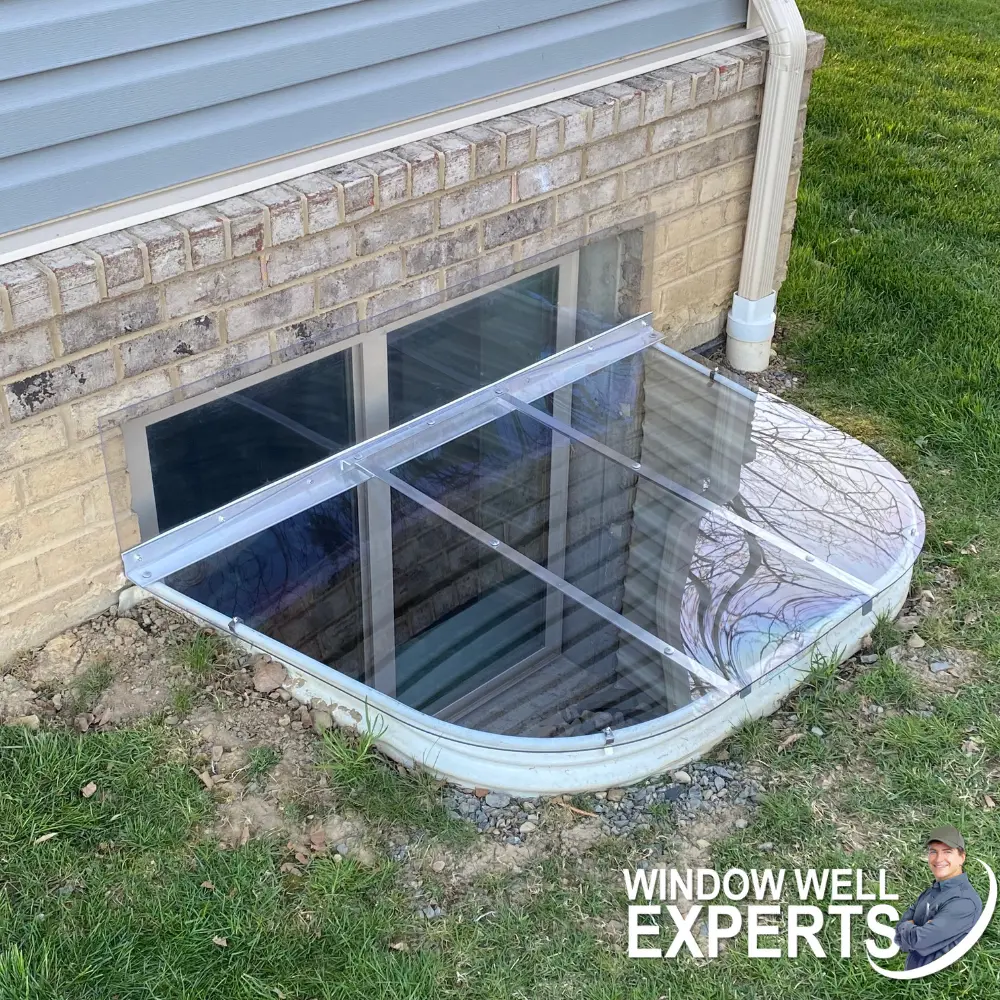
Setting the egress window well installation on level ground will help keep it from warping. Please note the drain hose in the photo below. You may need to dig out the center of the hole 2-3″ deeper at the center bottom to install a drain or cover the existing drain already attached to your drain tile (also known as sump drain tile or weeping tile).

If digging a hole manually won’t work for you, a mini excavator or backhoe is the best option. These are available for rent, or someone may be available to do the digging for you who has experience.

Protect your lawn by laying down plywood and using tarps to put the dirt on.

3. Attach the well to the foundation
Don’t skip this step! Unfastened window wells will eventually move and cause water to leak into the basement.
CAUTION–If you ordered an egress kit with a cover, the well’s sidewalls can either bend out or toe in due to flexing during shipment—Double-check mounting to specification size of the well you ordered to ensure proper fit of the cover. Also, try to maintain symmetrical tapering back to the wall on each side when backfilling the well. These precautions will ensure the proper fit of your window well cover.
Finally, you must verify the final shape and bolt-on width of the window well cover by test fitting of the cover onto the top of the well before final tight bolting of flanges to ensure the proper fit.
- The top of the egress well should extend 3″ above the established grade line and down at least 8-12″ below the windowsill. Position the window well to allow sufficient dirt to be built up so water will drain away from the foundation.
- Flanges should be attached to the foundation wall at 12″ centers minimum to assure structural stability. Drill holes using a 3/16″ diameter masonry bit. Remove all concrete dust. Apply a polyurethane caulk/sealant. (Make sure it is NOT self-leveling caulk–It is too runny!)
Use Tapcons sized 1/4 x 1-1/4″ with large fender washers. Connect window wells into the foundation drainage system if available. On a masonry block wall or brick wall, we recommend a wedge fastener instead of tapcons.
4. Backfilling around your well
- Place fill evenly around the well in 12″ layers, compacting as you go, to ensure the well profile does not become distorted. Then, add decorative stone into the window well for drainage and structural support from the inside.
- Compacted fill around the outside of the egress well must be added periodically after rains and re-compacted regularly for at least 90 days to prevent flooding from erosion. Select backfill material should be used that is free of hard lumps and large rocks.
- Avoid the careless use of heavy construction equipment near window wells after backfilling, as this will likely distort the well’s shape.
- Egress ladders are recommended and required for finished window well heights greater than 42″. For required egress ladders, position the well so the window does not obstruct it.
Congratulations! You have successfully increased the living area and resale value of your home!
***CRITICAL NOTIFICATION***
Repacking the dirt around the new well is essential. Stomp down the area with shoes periodically as it settles from rains over time. This will prevent flooding of the window well and, in turn, your basement. Also, be sure to keep adding good compactable dirt/fill around the well to keep a berm area raised high enough around the well to act as a dam to prevent flooding.
Please see the photo below of a five-year-old installation that collapsed completely because the area was not appropriately compacted or repacked regularly. Erosion did cause damage to the well and flooding of the basement. The well could not be straightened and required a complete replacement.

Installing your own egress well is a straightforward project. Following this guide and being sure to follow up afterward with backfilling and compacting around the window well will reward you with more livable space, the increased resale value of your home, and assurance of your family’s safety with an additional emergency escape from your basement.