How do I install the cover? Is it easy? How long will it take?

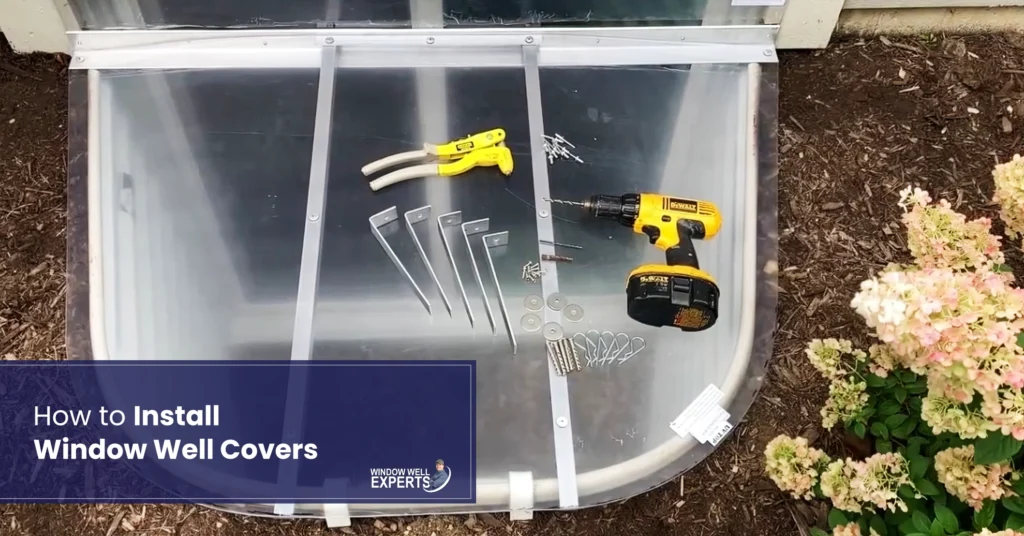
Our Sloped and Flat Fabricated Style Window Well Covers are easy for the average homeowner to install. However, it would be best to have a permanent marker, a drill, and a screwdriver.
The manufacturing technician will mark the protective film on your cover approximately where the clips should be placed on your cover.
One of our installation crews has the window well cover centered over the window well in the photo above. Then, using the arrows marked on the protective film, he uses a marker to make a dot over the middle of the lip of the window well.

Shift the cover slightly off to one side to drill the holes you indicated.

Peel back the protective film slightly.

Put the screw up through the bottom of the U-shaped clip through the cover. Put the cap nut on the screw, and tighten with a screwdriver from below the cover. Please notice that the tighter you tighten the screw, the closer the legs of the clip become. This is adjustable later if need be.

The view of the installed clip from the underside.

Remove all protective film and snap the cover down on the lip of the well. That’s it! It took our installer about 20-25 minutes to install this egress size window well cover. An instruction sheet and all hardware needed for your installation are shipped with your cover, and we are available for any questions you have. Most of our customers install their covers themselves, designed for a do-it-yourself installation.